If you face the error 8004004-40019 in Windows 7, after aborting the update to Windows 10, then continue reading this tutorial. This tutorial contains instructions to fix the Windows update error 8004004-40019 in Windows 7 OS after canceling the update to Windows 10.
Problem Description:
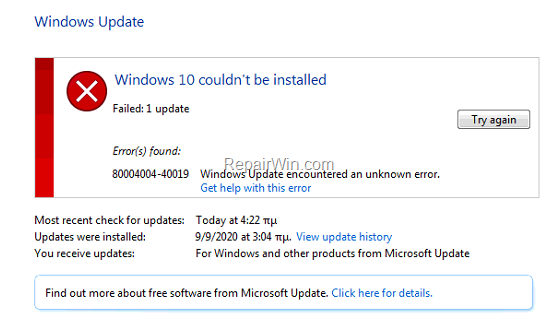
After canceling the upgrade to Windows 10, the following error appears in Windows Update: ”
Windows 10 couldn’t be installed , Error 8004004-40019: Windows Update encountered an unknown error
.”

FIX: How to fix Windows Update Error 8004004-40019 in Windows 7.
Method 1.
Re-Download the Windows Update(s).
The most effective solution to troubleshoot Windows update problems, is to force Windows to download the updates from scratch. To do that:
Step 1: STOP the Windows Update Service.
1. Open Windows Services control panel: To do that:
-
-
Press Windows

+
R
keys to open the run command box. -
In the Search box, type:
services.msc
& click
OK
.
-
Press Windows


2. In Services control panel locate the ”
Windows Update”
service.
3. Right-click on
Windows Update
service and select ”
Stop
“.

Step 2:
Delete the SoftwareDistribution folder.
1. Open Windows Explorer and navigate to:
C:Windows
folder.
2. Find and
Delete
the ”
SoftwareDistribution
” folder (or rename it. e.g. to “SoftwareDistributionOLD”) . *
* Note:
If you cannot delete the folder, start Windows in Safe Mode.

Step 3:
START the Windows Update Service.
1. Open Windows Services control panel.
2. Right-click on
Windows Update
service and select ”
Start
“.

Step 4.
Go to Windows Update options and and click
Check for Updates.
Method 2. Delete the Rollback Registry key.
The next method to resolve the Windows 7 update error 8004004-40019, is to delete the “Rollback” registry key, from the following location in registry:
- HKEY_LOCAL_MACHINESOFTWAREMicrosoftWindowsCurrentVersionWindowsUpdateOSUpgradeRollback
To delete the “Rollback” key, you can use one of the following ways.
A. Delete the “Rollback” registry key, using the Registry Editor.
1. Open
Registry Editor
: To do that:
-
-
Press simultaneously the Windows

+
R
keys to open the run command box. -
Type
regedit
& Press
Enter.
-
Press simultaneously the Windows


2. Navigate to the following key at the left pane:
- HKEY_LOCAL_MACHINESOFTWAREMicrosoftWindowsCurrentVersionWindowsUpdateOSUpgradeRollback
3.
Right-click
on
Rollback
key and select
Delete.

4.
Close
the Registry Editor and
restart
your PC.
5. Go to Windows Update options and and click
Try again.
B. Delete the “Rollback” registry key, using Command Prompt.
1. Open
Command Prompt as Administrator
. To do that:
-
-
Go to
Start
>
All Programs
>
Accessories
. -
Right-click
at Command Prompt and choose
Run as Administrator
-
Go to

2. In command prompt, type the following command and press
Enter
:
- reg delete HKEY_LOCAL_MACHINESOFTWAREMicrosoftWindowsCurrentVersionWindowsUpdateOSUpgradeRollback /f

3.
Restart
your PC.
4. After restart, navigate to Windows Update and and click
Try again.
Method 3. Run the System Update Readiness tool.
1. Download and run the
System Update Readiness tool
according to your Windows 7 version (32 or 64bit).
2. When the installation is completed, restart your computer and try to search updates,
That’s all folks! Did it work for you?
Please leave a comment in the comment section below or even better: like and share this blog post in the social networks to help spread the word about this solution.
Even $1 can a make a huge difference for us
in our effort to continue fighting spam while keeping this site free:
