Last updated on May 6th, 2020
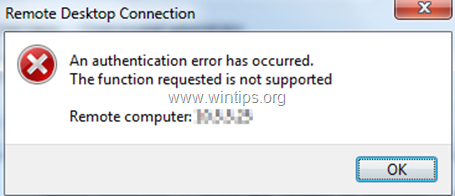
The following error appeared on a Windows 7 based computer, when I tried to connect to a Server 2012 via the Remote Desktop Connection app: “An authentication error has occurred. The Function Requested is not Supported.”. At the same time, the Remote Desktop connection is successful from Windows 10 based PCs.

This tutorial contains instructions to resolve the error “An authentication error has occurred. The Function Requested is not Supported” in Remote Desktop Connection on Windows 10/8/7 OS.
How to FIX: “The Function Requested is not Supported” in Windows Remote Desktop Connection.
Method 1. Disable Network Level Authentication on RDP Server.
The first way to resolve the “Function Requested is not Supported” error in RDP, is to turn off the Network Level Authentication on the RDP Server’s side. To do that:
1. Open System Properties and select the Remote tab.
2. Un-check (clear) the Allow connections only from computers running Remote Desktop with Network Level Authentication checkbox and click OK. *
* Note: If the RDP server, is a Windows 7 computer, then check the “Allow connections from computers running any version of Remote Desktop (less secure)” option.

3. Now try to connect from the RDP client to the server.
Method 2. Enable the Encryption Oracle Remediation on RDP Client.
The next method to resolve the authentication error “Function Requested is not Supported” in RDP, is to change the “Encryption Oracle Remediation” settings on the Remote Desktop client. To do that:
In Windows Professional versions:
1. Simultaneously press the Windows ![]() + R keys to open the run command box.
+ R keys to open the run command box.
2. Type gpedit.msc & Press Enter.

3. In Group Policy Editor navigate to the following path (in the left pane):
- Computer Configuration -> Administrative Templates -> System -> Credentials Delegation
4. At the right pane, open the Encryption Oracle Remediation settings.

5. Choose Enable, set the ‘Protection Level’ to Vulnerable and click OK.

6. Close the Group Police Editor and try to connect to the RDP server.
In Windows Home versions:
1. Open Command Prompt as Administrator. To do that:
1. At the search box type: command prompt or cmd
2. Right-click at Command Prompt result and select Run As Administrator.

2. In command prompt, paste the below command and press Enter.
- reg add “HKLMSoftwareMicrosoftWindowsCurrentVersionPoliciesSystemCredSSPParameters” /f /v AllowEncryptionOracle /t REG_DWORD /d 2

3. Close command prompt and restart your PC.
4. After restart, connect with the Remote Desktop app to the server.
That’s it! Let me know if this guide has helped you by leaving your comment about your experience. Please like and share this guide to help others.

do earn a commision from sales generated from this link, but at no additional cost to you. We have experience with this software and we recommend it because it is helpful and useful):