Last updated on September 2nd, 2019
This article contains instructions to fix the following issue in Windows 10: Network Computers Not Showing in Explorer. The issue commonly appears after installing the Windows 10 upgrade v1803 or the v1809.

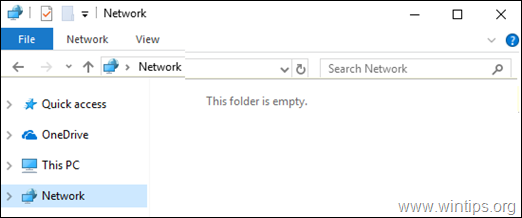
If you added a new Windows 10 computer to your corporate or home network, you may have already noticed that Windows 10 can’t find all (or some) network computers, when you explore ‘Network’ (from ‘File Explorer’), while Windows 7 and 8 PC’s can see all of them. The problem exists even after enabling the Network Discovery on the Windows 10 PC.
How to FIX: Network Computers Are Not Visible in Explorer in Windows 10.
The problem of not displaying all network computers in Windows 10, happens because after the Windows 10 Fall Creators Update 1709, the ‘Computer Browser’ service and the ‘Server Message Block version 1’ (SMBv1) network protocol (which related on the service) is no longer installed by default, because the SMBv1 protocol has limited security. However, if you want to use the Explorer Network to view all the connected PC’s on the network follow the steps below:
Step 1. Turn On the Network Discovery.
First of all, ensure that the Network Discovery is enabled. To do that:
1. Right click on the (active) Network connection icon in Taskbar (or navigate to Control Panel) and open Network and Sharing center.

2. Click Change advanced sharing settings.

3. Expand the ‘current profile’ (Private or Guest/Public), select Turn on network discovery and click Save changes.

Step 2. Set the “Function Discovery” services to Automatic.
From Services panel, set the following two (2) services to auto start.
-
- Function Discovery Provider Host (fdPHost)
- Function Discovery Resource Publication (FDResPub)
To perform that task:
1. Simultaneously press the Windows ![]() + R keys to open run command box.
+ R keys to open run command box.
2. In run command box, type: services.msc and press Enter.

3. Right click on Function Discovery Provider Host service and click Properties.

4. Change the Startup type to Automatic and click OK.

5. Then perform the same steps and change the Startup type of the Function Discovery Resource Publication service to Automatic.

6. Reboot the computer.
7. After restart open File Explorer and click on ‘Network’ to find out if you can see all the computers on your network. If your can’t see them, then proceed to the next step.
Step 3. Turn On the SMB 1.0/CIFS File Sharing Support.
If after applying the above steps, you still can’t find the other computers on network, proceed and enable the ‘SMB 1.0/CIFS File Sharing Support’ feature: *
* Note: Microsoft recommends to map network drives, instead of enabling the SMB v1 feature.
1. From Control Panel open Programs and Features.

2. Click Turn Windows features on or off.

3. Check the SMB 1.0/CIFS File Sharing Support feature and click OK.

4. Restart your computer.
5. After restart open File Explorer to view the network computers.
That’s it! Which method worked for you?
Let me know if this guide has helped you by leaving your comment about your experience. Please like and share this guide to help others.

do earn a commision from sales generated from this link, but at no additional cost to you. We have experience with this software and we recommend it because it is helpful and useful):
Full household PC Protection – Protect up to 3 PCs with NEW Malwarebytes Anti-Malware Premium!