,
This article contains instructions to solve the BSOD “WHEA_UNCORRECTABLE_ERROR” when installing Windows 10 or Windows 11 in VMware Workstation Player.
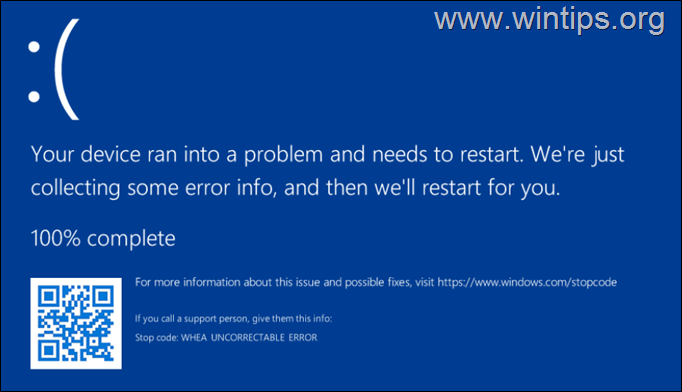
A few days ago I created a virtual machine in VMware Workstation Player and then started to install Windows 11 Pro. But, at the end of the OS installation, I got the blue screen error “WHEA_UNCORRECTABLE_ERROR”.


Usually the “WHEA UNCORRECTABLE ERROR” BSOD (Bug Check Code: 0x00000124), is usually related to hardware issues that can be caused by various factors such as hardware component failure, driver problems and software conflicts.
But in my case the Host machine (Host OS) it works smoothly and without any problem, so I assumed that the problem is not in the hardware of the host computer but with some incompatibility between Windows 11 and the virtual hardware of the guest machine.
After a lot of testing and research, I finally managed to fix the “WHEA_UNCORRECTABLE_ERROR” in the Windows 11 installation on the VMware Guest machine, by simply disabling all the Hyper-V features on the host as described below.
* Note: After installing Windows 11 and VMware tools, I re-enabled Hyper-V and the virtual machine continued to work normally without any problem.
How to FIX: BSOD “WHEA UNCORRECTABLE ERROR” on VMware Workstation Player.
1. Press the Windows ![]()
![]() + R keys to open the RUN command box
+ R keys to open the RUN command box
2. Type “optionalfeatures” and hit Enter.


3. Here uncheck to disable all the Hyper-V features.
4. Then ensure that the following features are also disabled.
- Containers
- Virtual Machine Platform
- Windows Hypervisor Platform
- Windows Sandbox
5. When done, click OK to apply the change(s).


6. Restart your computer.
7. Start the VM and install again the Windows 11 OS. The installation should complete normally and the BSOD “WHEA_UNCORRECTABLE_ERROR” should no longer appear. *
* Note: If the “WHEA_UNCORRECTABLE_ERROR” remains, proceed and completely disable Hyper-V using the instructions below:
1. Open Command Prompt as Administrator.
2. Type the following command and press Enter:*
- bcdedit /set hypervisorlaunchtype off
3. Reboot your PC.


8. After the installation of the operating system, proceed and install the VMware tools on the guest machine.
9. Finally install all Windows Updates and you’re done! *
* Note: If you want to re-enable Hyper-V on the host, do the following:
1. Open Command Prompt as Administrator and give the following command:
- bcdedit /set hypervisorlaunchtype auto
2. Open Windows Features and check Hyper-V. Then click OK to install the Hyper-V features and then restart the PC.
That’s it! Let me know if this guide has helped you by leaving your comment about your experience. Please like and share this guide to help others.
