If you looking for a way to disable CHKDSK from running at Windows Startup, continue reading this tutorial. As you know, if you shut down your computer improperly, Windows will perform a check disk (chkdsk) when you power on it again.
This is happens because Windows incorrectly “thinks” that the drive is having problems and needs to be scanned. But, this behavior is annoying, because the disk checking is not actually required and you will have to wait the scan to be complete if you missed to press a key within 10 sec to skip the disk checking.
Another case where you must stop check disk (chkdsk) from running at Windows Startup, is in dual boot systems running Windows 10 & Windows 7. And this must be done because every time you boot from one of the 2 operating systems, Windows checks and “repairs” the operating system of the other disk, thus corrupting its files or making the disk unreadable.
How to Stop Check Disk at Startup on Windows 10/8/7 OS.
Method 1. Disable CHKDSK at Windows Startup with a command.
The easiest way to stop the automatic disk checking when starting Windows is by using the chkntfs command:
1. Open command prompt as administrator. To do that:
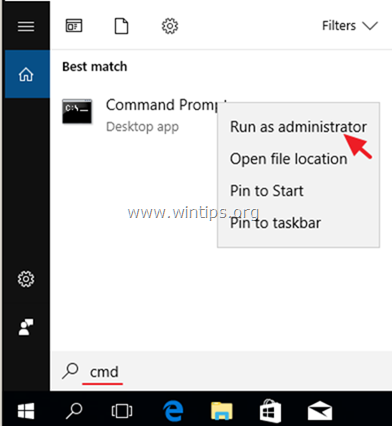
1. In the Search box type: cmd or command prompt
2. Right click on the command prompt (result) and select Run as Administrator.
2. Type the chkntfs command in the following syntax:
- chkntfs /x DriveLetter:
* Note: Where DriveLetter is the drive that you want to exclude from disk checking.
Examples.
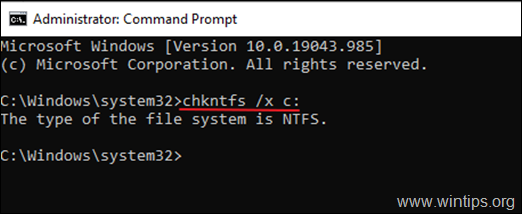
1. If you like to exclude disk C: from scanning at Windows Startup, type:
- chkntfs /x c:
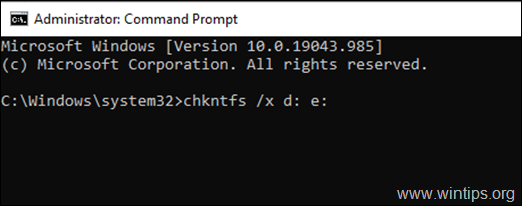
2. If you want to disable the disk checking on two drives (e.g. the D: & E: drives) , type:
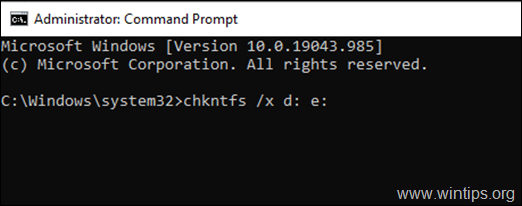
- chkntfs /x d: e:
3. That’s it. From now on the disk checking will stop on drives specified.
* Note: To re-enable chkdsk on the future, give this command with administrative privileges:
- chkntfs /d
Method 2. Stop CHKDSK at Startup using Registry.
The second method of disabling chkdsk when booting into Windows is for those familiar with Registry Editor:
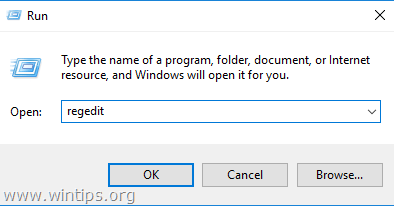
1. Open the Registry Editor. To do that:
a. Simultaneously press the Windows
+ R keys to open run command box.
b. Type regedit and press Enter.
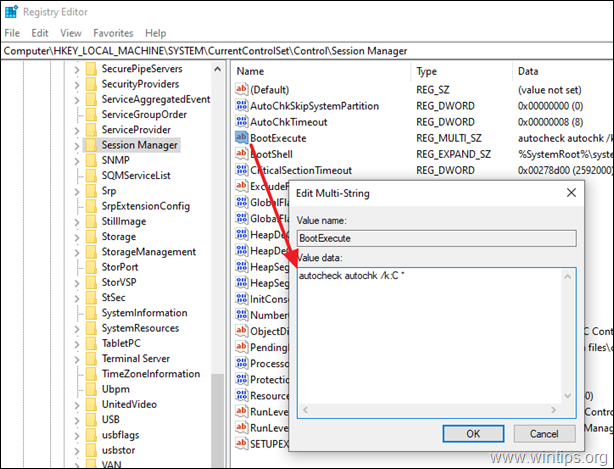
2. Navigate to the following key at the left pane:
- HKEY_LOCAL_MACHINESYSTEMCurrentControlSetControlSession Manager
3. At the right pane, open the BootExecute (REG_MULTI_SZ) value and after autocheck autochk, type: “/k:DriveLetter *” (without quotes)
* Note: Where DriveLetter is the drive that you want to exclude from disk checking.
Examples.
1. If you like to prevent chkdsk at startup on drive C: modify the BootExecute data value, as follows:
- autocheck autochk /k:C *
2. If you want to disable the chkdsk on drives C: & D: , modify the BootExecute data value, as follows:
- autocheck autochk /k:C /k:D *
3. When done, click OK, close the Registry Editor and you’re ready! *
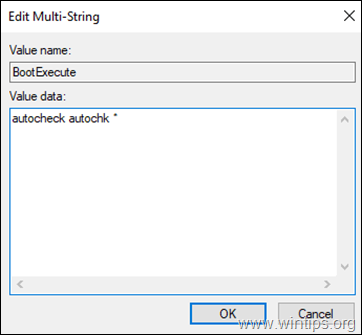
* Note: To restore the BootExecute key to its default value, type in the value data:
- autocheck autochk *
That’s it! Which method worked for you?
Let me know if this guide has helped you by leaving your comment about your experience. Please like and share this guide to help others.
do earn a commision from sales generated from this link, but at no additional cost to you. We have experience with this software and we recommend it because it is helpful and useful):
