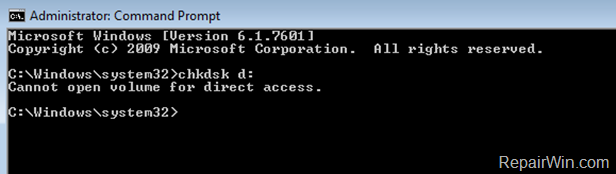
The error “Cannot open volume for direct access” in “chkdsk” command, usually means that the drive that you want to check for errors, is damaged and cannot be accessed. At such case, the only option, is to try to to recover your files from the damaged drive, by following the instructions below.

How to FIX CHKDSK Error: Cannot open volume for direct access.
Method 1. Run CHKDSK command in Safe Mode.
Step 1. Start Windows in Safe Mode.
1. Press the Windows

+
R
keys to open the run command box.
2. Type
msconfig
and press
Enter
to open the ‘System Configuration’ utility.

3. At
Boot
tab select the
Safe Boot
option, then click
OK
and restart your computer.

4. In safe mode, try to view the content’s on problematic drive. If you can’t continue to next step. *
* Note:
If you can view the drive’s contents in safe mode, then probably a running third-party program (e.g. your Antivirus) prevents the access on it.
Step 2. Run CHKDSK in Safe Mode.
1. Open
Command Prompt as Administrator
. To do that:
1. Press the
Windows
+
R
keys to open the ‘Run’ command box
CMD
and then press
CTRL
+
SHIFT
+
ENTER.


2. At command prompt give the following command to repair your disk and press
Enter
. *
-
chkdsk
X
: /F /R
* Note:
In this example the driver letter of the damage drive is the ”
X
“. Replace the driver letter according to your case.
3. Wait until the Check Disk process fixes the errors on the drive.
4. When the process in completed, close the command prompt window.
5. Run the ‘System Configuration’ tool again and at the
General
tab, check the
Normal startup
and click
OK
to exit from Safe Mode.

6.
Restart
your computer.
Method 2. Recover your files with PhotoRec.
Step 1. Download Photorec.
1. Navigate to:
http://www.cgsecurity.org/wiki/TestDisk_Download
page.
2. Click at
Download TestDisk
button.
3. Extract the ”
testdisk-7.0.win.zip
” file.
Step 2. Recover the corrupted files with PhotoRec.
1. Explore ”
testdisk-7.0
” folder and open the
qphotorec_win
application.

2. Select the damaged drive from the list.

3. Then choose the whole disk or the partition to retrieve files. *
* Note:
If you want to don’t miss anything, select ”
No partition”
. The PhotoRec will scan the entire drive. (The scan takes more time)

4. Select:
Whole: Extract files from whole partition,
if you want to recover corrupted data *
* Note:
If you want to recover deleted files, then select: ”
Free: Scan for file from unallocated space only”
.

5. Then choose a destination on your disk* to save the recovered files.
* Note:
Never save the recovered files, on the corrupted disk.

6. (Optional) Click the
File Formats
button and choose which type of files you want to recover. (e.g.”jpg – JPG Picture”).

7. Finally press the
Search
button.

8. When the scan and recovery process is completed, navigate to the folder you selected (before) to view the recovered files.
9. Don’t forget to format the corrupted disk (or memory card) before using it again.
That’s all! Did it work for you?
Please leave a comment in the comment section below or even better: like and share this blog post in the social networks to help spread the word about this solution.
Even $1 can a make a huge difference for us
in our effort to continue fighting spam while keeping this site free:
