Last updated on November 15th, 2020
This tutorial contains instructions on how to setup MikroTik for the first time. MikroTik Routers have become very popular in recent years because they help you create a stable and secure home or office network at an affordable price.
For this tutorial I have used the
MikroTik RB760iGS – hEX S 5- port Gigabit Ethernet router
and the
WinBox
utility to configure MikroTik to act as a Router (with NAT)
Eth1 (WAN/Internet Port)
WAN IP: 192.168.1.151 (Provided by ISP)
WAN GATEWAY: 192.168.1.1 (Provided by ISP)
WAN DNS1: 192.168.1.1 (Provided by ISP)
WAN DNS2: 8.8.8.8 (Google Public DNS Server)
Eth2, Eth3, Eth4, etc. (Private Network)
LAN IP: 192.168.88.1
LAN IP Address Range (DHCP): 192.168.88.10-192.168.88.254
How to Basic Configure MikroTik using WinBox.
Step 1. Connect MikroTik to your Network & to your PC.
1.
Connect with an Ethernet cable (RJ45), the MikroTik’s
Eth1
Port with your ISP’s Internet Modem/Router.
2.
Connect with another Ethernet cable (RJ45) one of the other MikroTik’s Ethernet Ports (e.g. the
Eth2
), with your PC.

Step 2. Configure MikroTik with WinBox.
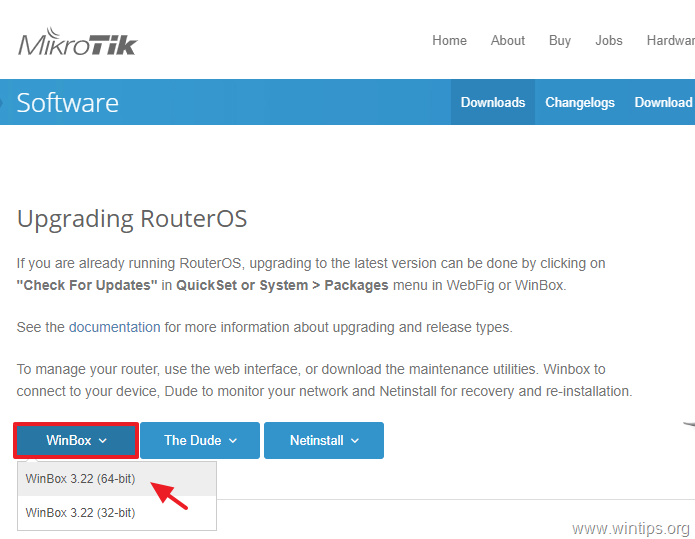
1.
According your Windows version (32 or 64bit), download the
WinBox
utility.

2.
WinBox
application and click
Connect
. *
* Note:
Every router is factory pre-configured with the IP address 192.168.88.1 on the Eth1 port. The default username is
admin
with no password.

3.
Click
OK
at the Default Configuration information message – window.

4.
Now click the
Quick Set
button on the left pane.

5.
In the ‘Quick Set’ window, apply the following settings:
A.
At ‘Configuration Mode’, choose
Router
.
B.
At ‘Internet’ section, select the Port
Eth1,
which is connected to your ISP’s Modem/Router. (This port will be used to access the public network and the Internet).
C.
At ‘Address Acquisition’ choose
Static
and below specify an IP address and fill in all the other IP details (Netmask, Gateway and DNS), that needed to access the public network, according to your ISP’s configuration. At this example, I use the following configuration:
D.
At ‘Local Network’ section, you can specify the IP settings for the Internal/Private Network. For this example, leave the default IP Address “192.168.88.1” and the default DHCP Server Range “192.168.88.10-192.168.88.254”.
E.
When done, type a
Password
to secure the Router for unauthorized access and then click
OK
to apply the changes.

Step 3. Configure NAT on MikroTik.
Now it’s time to configure NAT, in order to allow the LAN users to access the Internet. To do that:
1.
In WinBox utility, click
IP
->
Firewall

2.
Select the
NAT
tab and then double click at the existing NAT Rule.

3.
At
General
tab, at
Chain
choose
srcnat
and below (at the Src. Address input box), type the LAN IP block:
192.168.88.0/24
for the Private network.

4.
Then, click the
Action
tab, choose
masquerade
and click
OK
to apply the change.

5.
At this point, you have completed the basic MikroTik setup. Connect all your computers to MikroTik and if you have Internet access you have successfully completed the task.
That’s it! Let me know if this guide has helped you by leaving your comment about your experience. Please like and share this guide to help others.
Even $1 can a make a huge difference for us
in our effort to continue to help others while keeping this site free:

constantly protected
from malware threats,
existing and future ones
, we recommend that you install
Malwarebytes Anti-Malware PRO
by clicking below (we
do earn a commision from sales generated from this link, but at no additional cost to you. We have experience with this software and we recommend it because it is helpful and useful):